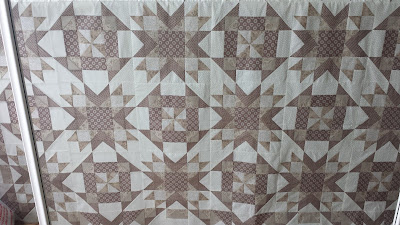
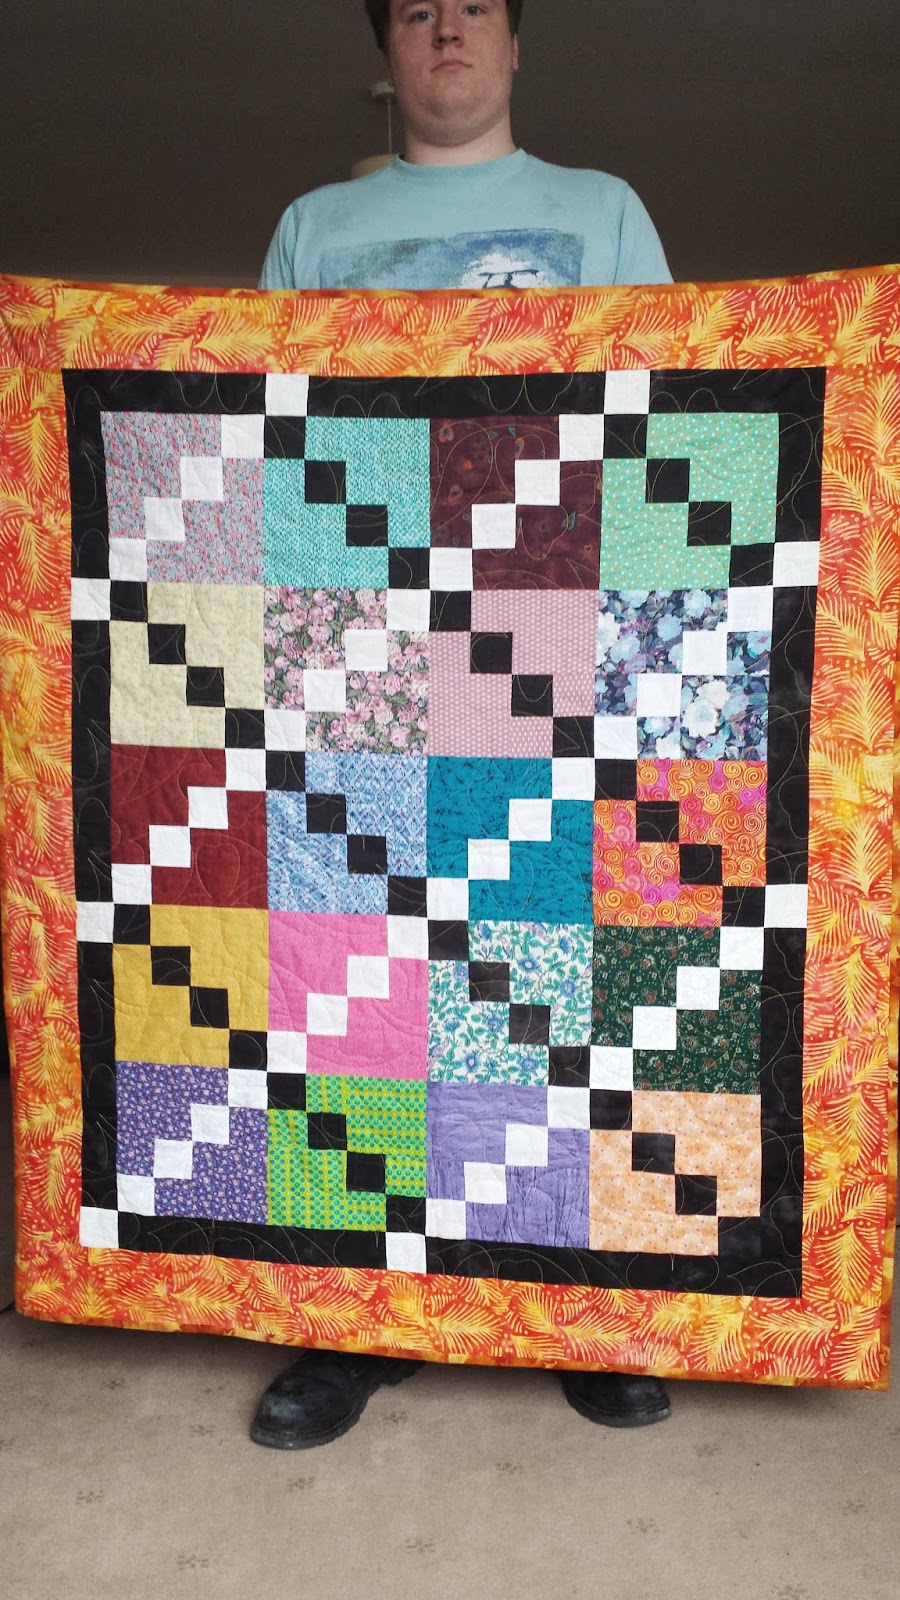
This lovely quilt was sent to me by a lady I had contact with via Facebook. She was looking for someone to quilt for a gentleman who's wife had recently passed away. This is her last quilt and I was very glad to complete it for them. It came partly tacked, a pieced backing with almost no extra for loading and a pieced, multi layered poly batting, not ideal, but with temporary borders stitched to the backing Millie did a great job. I was asked for something curvey and as it was for a chap floral may not be ideal but dragonflies are perfect, this is such a useful e2e. Who doesn't love dragonflies?
I heard yesterday it was very well received.
I hope the quilt brings this gentleman both warmth and comfort in his grief. My very best wishes to you sir.
Liz
Quilting in chaos
Thursday, 24 September 2015
Tuesday, 22 September 2015
Two for Ursula, one for me.
This pair of quilts have been made by the local U3A sewing group, the blocks are hand pieced but they were put together very nicely and quilted up without any problems.
We are lucky enough to have a cheese specialist shop locally and I was delighted to receive a voucher as a thank you.
I have also had a finish for myself, this is my scrappy one block wonder for Flutterwheels, the close up shows the block quilting echoed into the border.
When you finish one quilt you are free to start another, that is a rule isn't it?
This paper pieced quilt La Passacagalia is beautiful but I am learning to draw the shapes required using a cad package so I can cut both papers and fabric using our laser cutter. Mr Chaos has cut some acrylic shapes for me to fussy cut and has cut some fabric to get me started/addicted but insists I learn how to do it for myself. While I can see his point, learning a new skill is good for me, yada, yada, yada. I am not exactly thanking him at the moment. It is very frustrating.
Sorry for the less than great photos from my phone but my PC is refusing to see photos from my camera.
Till next time.
Liz
Friday, 24 July 2015
Bionic gear bag part 2
So the next modification I made was to the bottom edge of the sides, I made a little seam 4 stitches long at the bottom of each of the 4 folded lines. Clip diagonally close into the seam.
Turn through and press.
I chalked the fold lines and then stitched them with a long stitch length that can be removed later.
I then like to sew down the sides of the pockets from the bottom to the zip with a large stitch length that can be removed later. It prevents the layers from moving later on.
3 major pieces are now ready to assemble.
 Flip the side piece over and starting from the bottom making 3 securing stitches and seam as close to the edge as you can ( I put the edge of the foot to the edge of the fabric with the needle position to the far right ) but still seaming all the edges inside the fold. I take a few stitches forward and back over the end of the zip and again at the top stitched edge.
The most tricky are the two closest together at the front.
When they are all done pin the sides to the quilted outer. Just binding and the final zip to do now.Part 3 and a finish coming soon.
Liz
Friday, 5 June 2015
Bionic Gear Bag
Happy Monday everyone. After much tearing out of hair with changes to my computer and phone making it impossible to post pictures I think I may now have glitches on the run.
So here are the images that I hope will help my Bionic baggers
I started with a pack of sample fabric from Kisco. They are all slightly wider than the pattern calls for by about 1/2 an inch but as they were all the same so I went for it.
I labelled each piece on a piece of masking tape with an arrow for the direction and the letter of the pieces. These are B to F.
They are all backed with light weight interfacing.
I sewed in a zip between pieces A and B then a zip between B and C repeating to F making sure the fabrics all lined up parallel, even if the zips stuck out a bit. I made sure the head or moveable bit of the zip was either to the right or to the left each time, not some on the right and some on the left.
Looking at the back of my pieces you may be able to see that all the zip heads are on the left.
I used the width of my zip foot as a seam guide.
Still looking at the back you can see a pocket lining being pinned in, right side of the lining piece face down. The zip becomes sandwiched between the outer and the lining.
I will sew along the same seam line as before.
Press the seams away from the zip teeth.
Here you can see I have sewn in the other side of the pocket lining in exactly the same way.
You can now concertina your pieces up and imagine what your bag will be like.
Prepare the side pieces ( these are my redrafted pieces with a more gentle curve) with a medium weight interfacing and sew a seam along the straight edges only, not along the curve or the straight bottom edge. I will show you the second change I made to this piece when I see you all.
Turn through, press and top stitch along seamed edges.
I made a quilt sandwich from the outer fabric, a layer of batting and a backing of firmer than standard quilting cotton. I simply did cross hatched quilting at 1 inch and found it gave a suitably firm foundation for a successful result.
I think that is enough for now, See you on Saturday
Till next time.
Liz
Thursday, 28 May 2015
Just keep quilting, but hopefully not cursing.
A bit like Dory my mantra lately has been just keep .... not swimming but quilting.
I have made lots of finishes but am unable to blog about them because between Blogger (why is my Blogger account now on a gmail address that I never use?) and F***ing Google with it's new swanky makes no sense to me what so ever and Dropbox no longer working I am almost ready to weep, curse and throw something all at the same time.
I make no apology for foul language, this is my blog and I will curse if I want to.
And breathe!
I did find a couple of images on my PC but not a finished picture of this quilt. I was asked to do an all over but I just could not find anything satisfactory. To the naked eye or in the flesh I see alternate blocks but once I had seen the secondary pattern I could not unsee it
Quilt path enabled me to plan something I could show my lady, she was happy and gave me the go ahead to quilt like this.
I hope that normal service will resume soon.
Friday, 24 April 2015
You mean Lizzie made you jump?
Anyone who has ever been involved in amateur dramatics will not be surprised that sometimes seemingly odd things appear, like the panto cow being stuffed and standing in our sitting room window to scare the doo daa out of my poor husband when he came home from work, sorry dear X. Lizzie will be performing at Lawrence Sherrif School production of Spamalot next week and there are some very good performers and some very good voices among the cast.
On a more quilty note this was made by C and will adorn the end of her daughters bed.
The back is nice too.
I had just three ladies to do my free motion applique workshop at Lutterworth. They all chose to do cup cake mug rugs and were happy with what they achieved at the session.On Saturday we get together to sew at South Kilworth, this little project I have prepared for E who has not sewn a zip before, I thought it would be a good step before the Boinic Gear Bag.
These packages of buttons were posted to me from China, I have not ordered them, they are lovely and if you ordered them for me thank you very much. X
Wednesday, 1 April 2015
I have been quilting some more.
The front now looks like this, quilted and bound and ready for a new home.
This is another group quilt by Newton village craft group, just needs binding, disappearing nine patch again, not one block needed attention and it went together quite well, quilted with my favourite dragonflies this is a fund raiser for someone from the village who is going to the transplant games with very best wishes and good luck from me.What is up next? some dressmaking perhaps.
Liz
Subscribe to:
Comments (Atom)


